Friday, August 26, 2011

Sculpin Helmets and Dragons


I've been holding back on another new product from Flymen Fishing Company.  Martin Baudin is in the process of releasing the Sculpin Helmet to his line of Fish Skulls.  When he told me of his idea for the product I instantly had patterns swimming in my head.  Sculpins are bottom hugging river and stream dwelling fish that are a favorite of many freshwater gamefish. They are found in a range of earthy tones.  These Helmets were designed to be heavy and wider in profile to the Fish Skulls.  When I got samples into my hands, I couldn't tie fast enough to get the pattern down.  My expectations were met both with the product and the pattern I came up with.  It's one thing to come up with a cool looking pattern, it's another to come up with a cool looking pattern that catches fish.  I took my new pattern "Hagrid's Dragon" out for test swim.  I was fishing the run and fly kind of half heartedly and ready to switch flies, but I said to myself that this was experimental and to ride it out a little longer.  I was swinging the helmet through the middle of the run when the line went tight.  I connected with a fish that put a bend in the 4wt switch that had me more than excited.  I was rewarded / surprised when I landed a fourteen inch fallfish.  Typical fallfish in this area run between 6 and 10 inches.  Though fallfish aren't as exciting as fresh chrome, this is late summer fishing.  I renewed my confidence and kept fishing the run.  Next I was into smallmouth bass!  I fished the rest of the run and landed seven bass and two fallfish (both of which were over 13 inches).  It was safe to say I was hooked or sold, depending on how you look at it on the sculpin helmets.  Here is a sneak peek at the product and the results.  The helmets will be available in small and large sizes and brown or olive colors.


Monday, August 22, 2011

Time to Shank It Up...Shank It, Shank It, Sugaree


First off I've been on vacation for the last week.  This was perfect (aside form the perfect time with my family) because I was having a hard time keeping this one quiet.  The Flymen Fishing Company let me try out a new product before it was available on the market.  It's in line with a waddington shank and articulated fly tying.  Check out http://www.flymenfishingcompany.com/ for details.  I was able to get some time to fool around with these and fish them.  They take a little getting use to, but I like the end result for sure....especially if you like to tie intruders! My biggest dilema was judging the trailer length for the hook, but that one can be chalked up to trial and error.  Now to the fishing.  I took most of the warmwater species on the black and silver shank fly and a few on the hinged dace fly.  The most missed fish came on the black and silver and I relate that directly to the length of the trailer hook. I can't wait to try these on the chrome this fall.  Look for more to come from me with both the shanks and another new product from Flymen Fishing Company very soon!!!

Tuesday, August 9, 2011

Alex Cerveniak and http://alexkain.com/


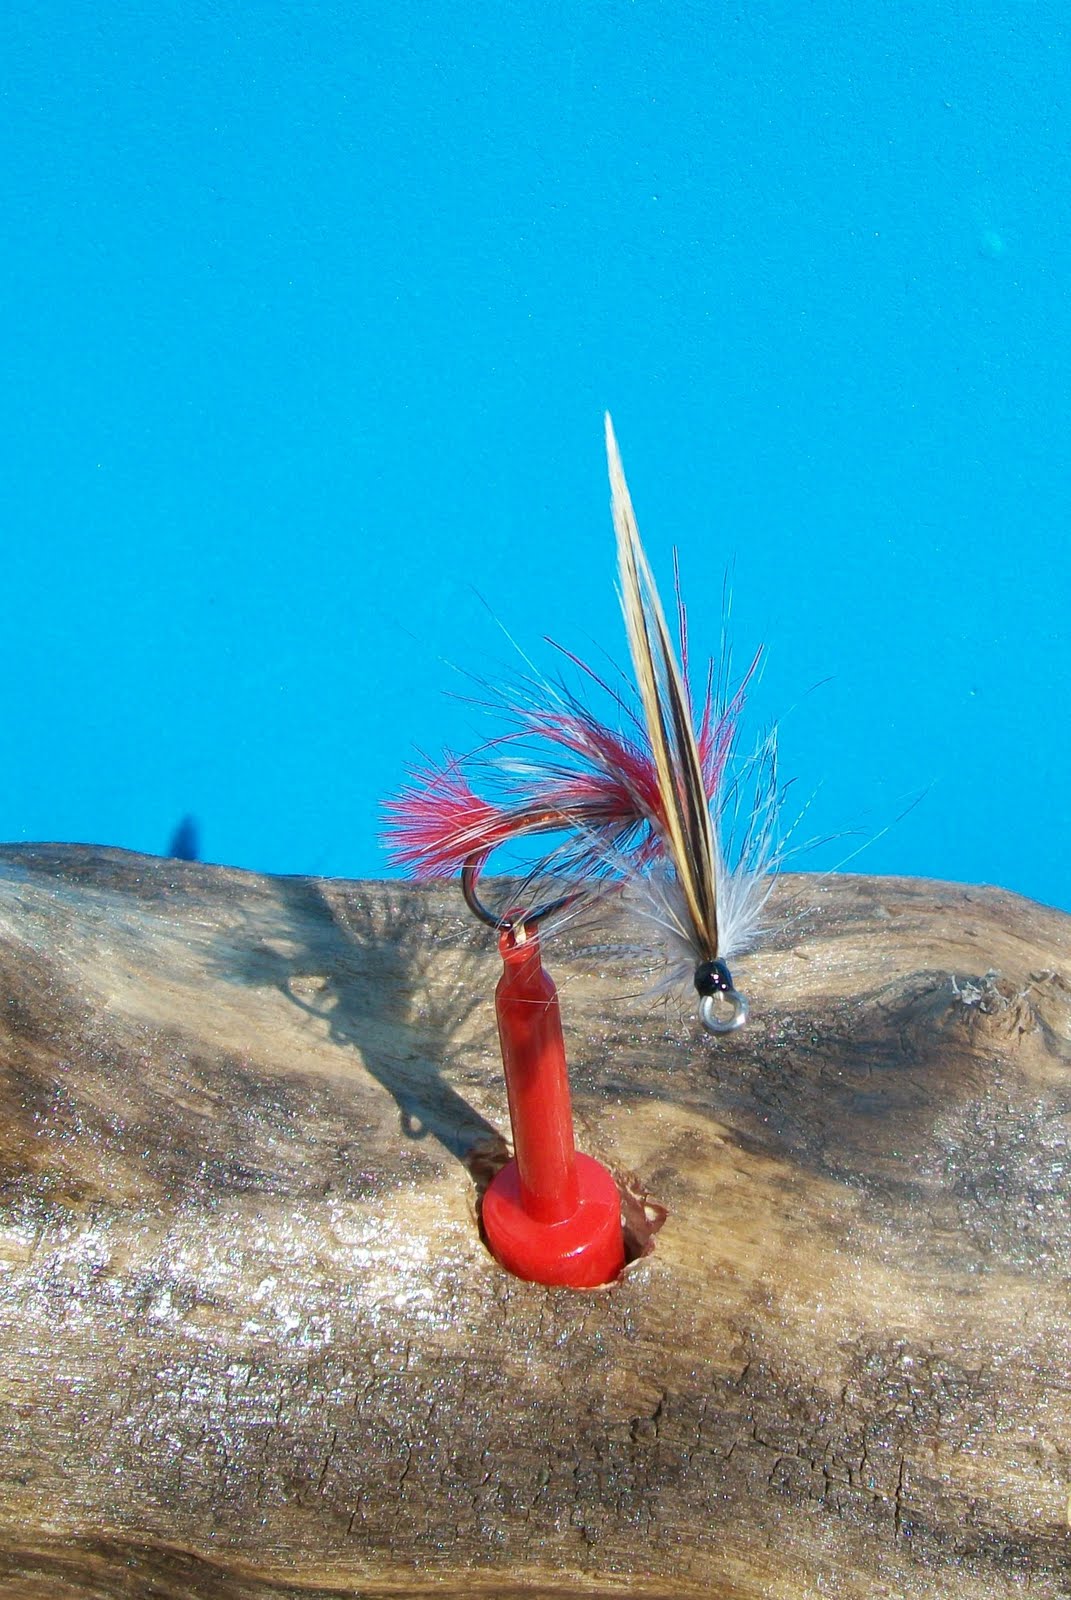
I met Alex a few years back through article submissions to Hatches Magazine.  I learned quickly that Alex is serious about his passion for everytthing fly fishing.  It wasn't until last fall that we actually got to meet face to face at the Fly Tying Symposium in Somerset, NJ....it seemed that we were always at the same places just different times. The more we talked the more I appreciated his efforts and contributions to our beloved sport.  Alex creatted a new web site this year  http://alexkain.com/ that showcases some of his passion.  He has a portion dedicated to things fish eat and their fly imitation.  I sent a couple of flies for Alex to photograph and add to his collection.  These are a couple of patterns that I created and are available through the Beaverkill Angler in Roscoe, NY.  As always Alex's photos showcase his artistic eye.  I'll be adding the patterns to my blog fly catalog soon. 
                                                  Isonychia Soft Hackle Bead Head:
Eastern Green Drake Soft Hackle:

Monday, July 25, 2011

More Dee Practice

I'm still fiddling in my spare time with tying dee style wings.  I'm happy with the results, but there is till some improvement needed.  I really like the blue dee but realized after that I tyed the wings in backwards....it'll still fish, but bummed me out.  For some reason the picture also shows the wing cock-eyed on the blue and that is not the case, guessing it's the outside photo shooting...nothing beats real sunlight!


Thursday, July 21, 2011

Dee Style Wings & Speypages Monthly Challenge


Spey Page's July monthly fly challenge was an Akroyd tied with dee style wings. http://speypages.com/speyclave/showthread.php?t=50027  I once again took the challenge and followed the step by step that daijones so masterfully had done and shared on the website. This has long been a fly/style that I wanted to try but never got around to it. This was the perfect time to try it. Everything is pretty straight forward with the tying. The only somewhat confusing part (confusing, not difficult) the rear half of the fly is bulked up a bit with some dubbing spun in a loop and cock hackle wrapped through that portion. When you get to the thorax or front half of the fly you don't build it up, but rather lay down some floss and wrap a spey hackle and a collar keeping everything fairly sparse. This is done to give the wings a place to lay out flat. Bushy butt and a flat front. As I tyed this into the wee hours one Friday night, I was amazed at how well things were going for a first time through tying. Then came the setting of the wings. I'm pretty sure anyone who has tied wings on spey type flies usually gets a little anxious when it comes to setting wings. I had consulted with Charlie Dickson and Wylie Haggerty at Spey Nation about setting wings on dee style flies. I even brought some turkey tails for them to look at and let me know if they were adequate. I set the wings on the first try and they looked good except they curved up at the rear of the fly. I tried everything to get them to lay flat. I reset and reset, even cut new slips from the same wing, different wings, nothing worked. I started going back through my tying trying to diagnose a mistake, but nothing jumped out. I finally settled on a set of wings with a slight curve and called it a night. I posted and consulted again and it seems that this is a common problem that can be corrected with steaming and bending to shape. Live and learn. I'm excited to crank out a few more of these and take them for a test swim. In the photos you can catch a glimpse of my latest driftwood fly display.